Decorative Chinese knots: trace a path before naming a pattern
An elaborate decorative knot can look like a solid emblem until you follow the cord through it. A path map makes its crossings, loops and endpoints easier to discuss. Begin with a documented knot-making context, then use an original drawing exercise to learn a way of looking without claiming that one diagram teaches every named traditional knot.
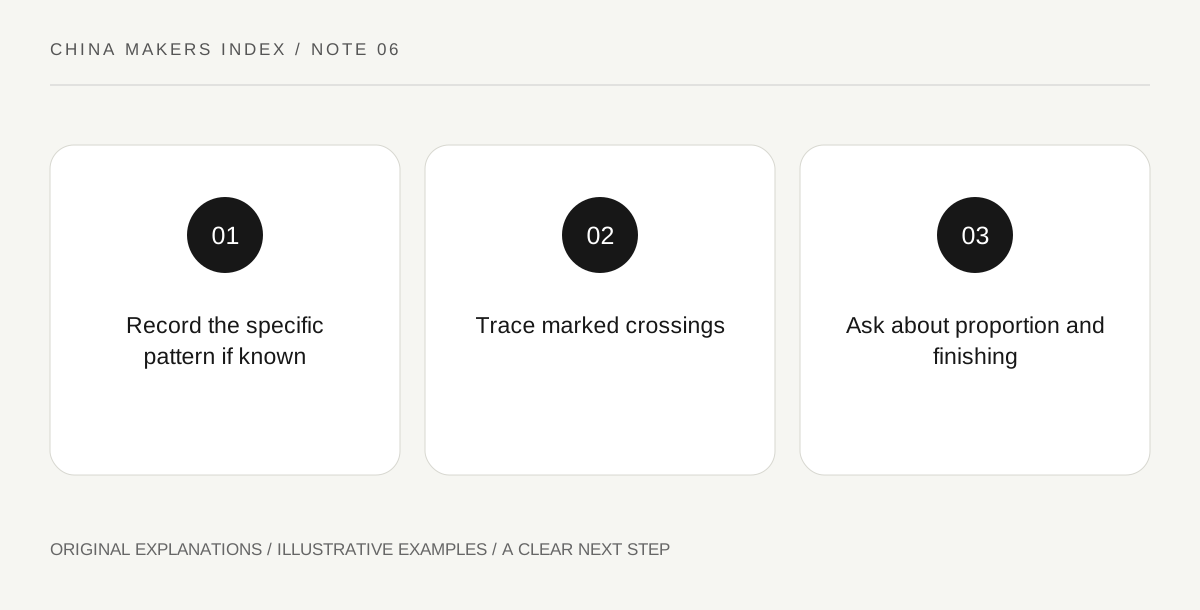
Original explanatory diagram. Read the full method and limitations below.
Keep the object and the pattern name distinct
Shanghai’s official cultural-event account includes traditional Chinese knot-making among festive craft activities. That establishes the practice’s presence in the documented setting, but it does not identify every pattern a visitor might encounter. When studying an actual object, ask for its specific name and maker’s explanation. A decorative outline can resemble another pattern without sharing the same cord path. Start by recording what you know, such as the number of visible ends, while leaving the formal pattern name open until a reliable source supplies it.
Invent a simple crossing diagram
On paper, draw a loose looped line that crosses itself two or three times. At each crossing, erase a short segment of the lower line to indicate which part passes underneath. Start at one end and trace the route with a colored pencil. If the route becomes ambiguous, revise the crossing mark rather than guessing your way through it. This is an original diagram exercise, not a traditional knot design or a functional knot instruction. It teaches how a drawing can distinguish contact from a line that merely passes behind another.
Compare outline with internal route
Draw a second line with a similar overall silhouette but a different sequence of crossings. The pair reveals why a familiar outer shape does not fully describe a knot. In a workshop, ask the instructor which adjustments alter the visual balance and which change the actual path. Follow their supplied materials and instructions. Do not apply a decorative exercise to any load-bearing, restraint or safety use. The purpose here is understanding ornamental structure, where appearance and cord organization can be studied without pretending to certify function.
Give the maker’s explanation room
After tracing a documented example where permitted, write one question about how the maker establishes proportion or finishes the ends. Do not take the object apart or pull it tighter without permission. A finished knot can embody choices that are hard to infer from a photograph. Credit the pattern and teacher if you share a workshop result, and distinguish your invented crossing study from a named traditional design. That careful caption helps preserve the practical knowledge behind the object rather than treating the emblem as an anonymous graphic.
Illustrative design exercise
Illustrative path study: a learner draws two looped lines with almost the same outer outline. Colored tracing reveals different crossing sequences. One ambiguous intersection is corrected by adding a clear underpass gap. The learner labels both designs invented and uses them to ask an instructor how a specific decorative knot’s proportions are adjusted without changing its cord path.
Questions that come up
Does one continuous outline establish the full cord path?
No. Over-and-under relationships can remain ambiguous. A clear diagram needs crossing information as well as a recognizable silhouette.
May I tighten a display knot to see how it works?
Ask the maker or instructor for an authorized demonstration. Pulling or dismantling a finished object can change the very relationships you are trying to study.
References and scope
These sources support the factual background. Examples and exercises are original illustrative teaching material. References do not imply endorsement.
- Shanghai: Celebrate Chinese New Year at Caojing Shuike Scenic Area — A documented cultural setting for traditional Chinese knot-making; all path diagrams are original analogies.